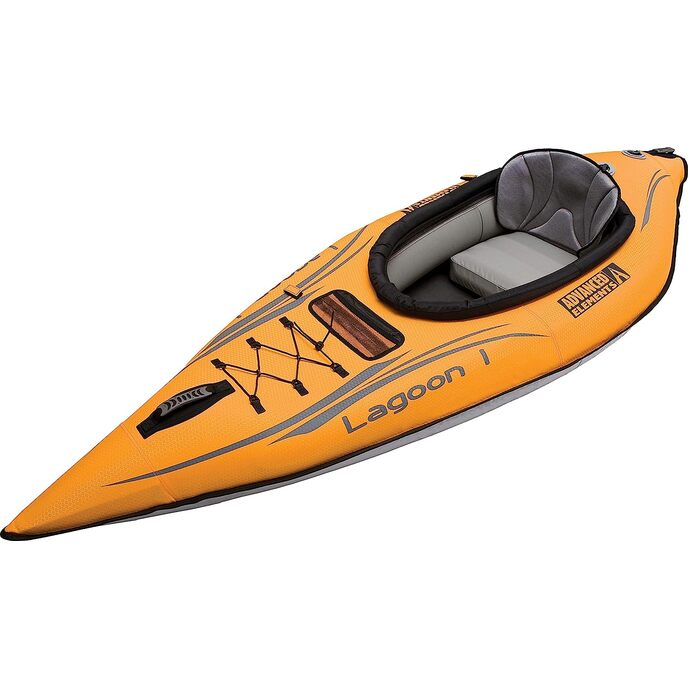
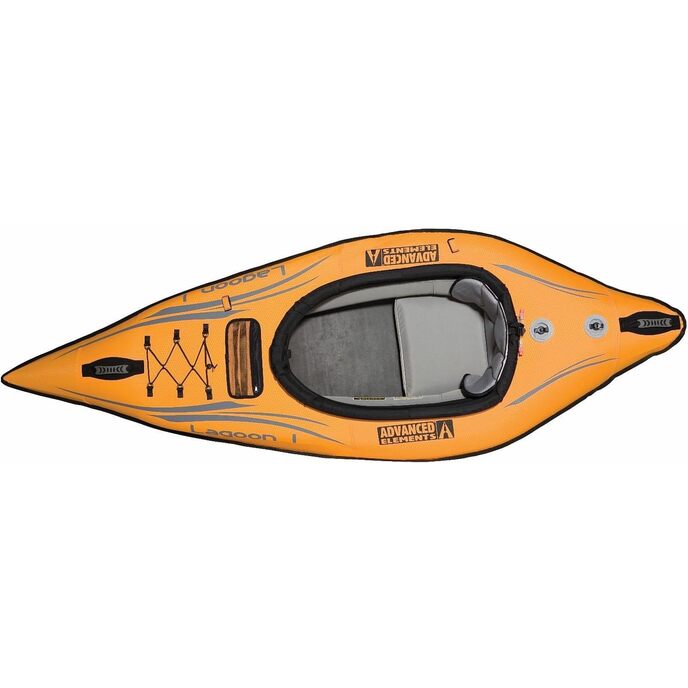
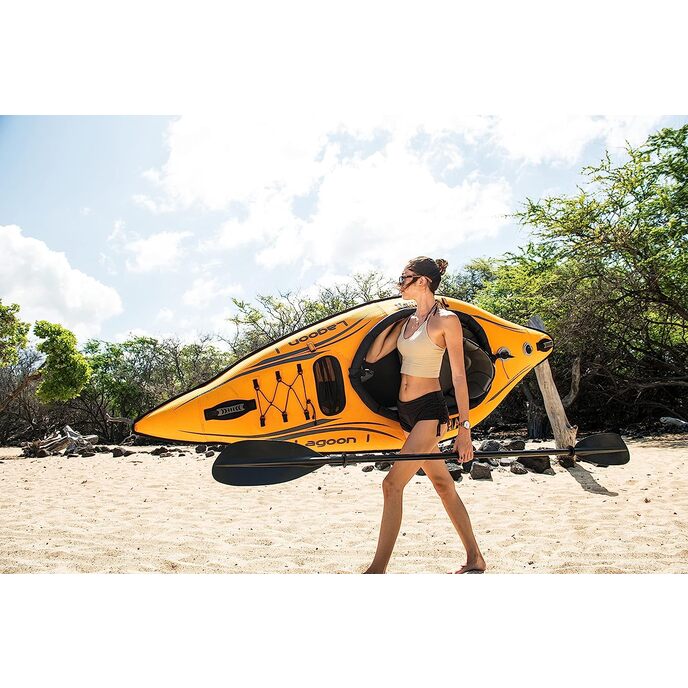
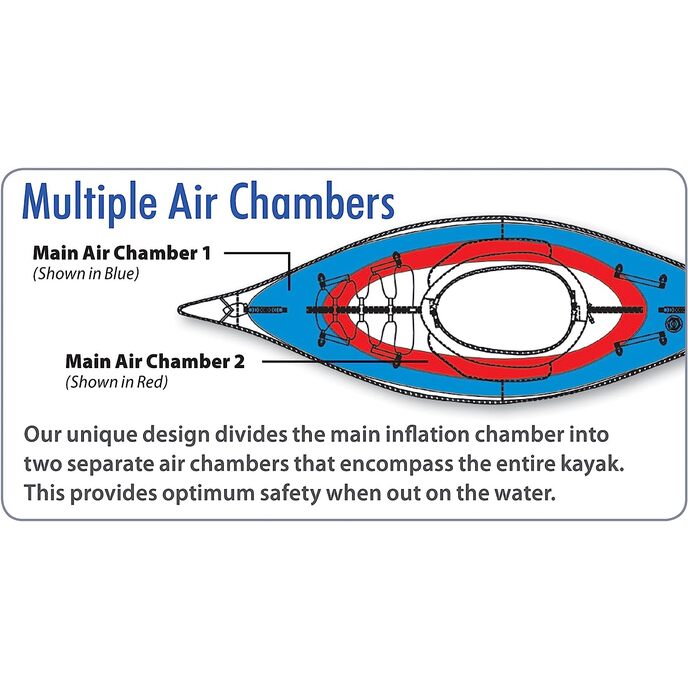
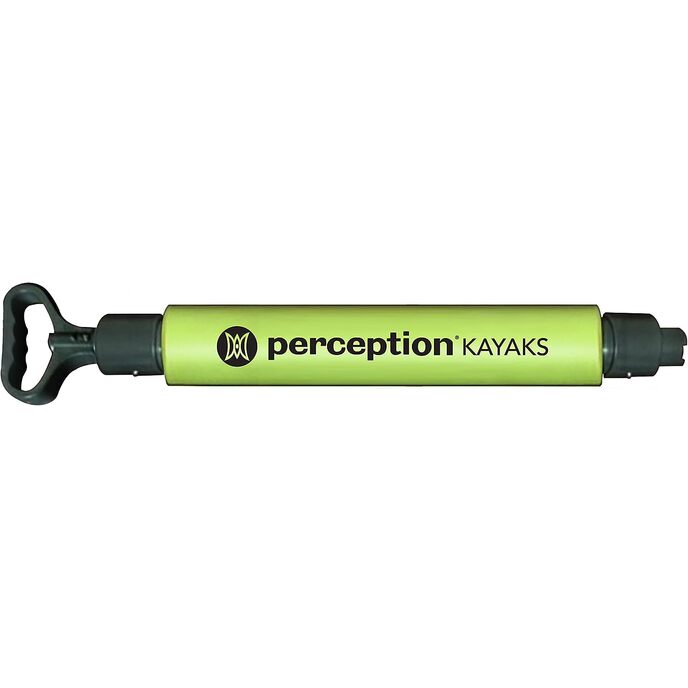
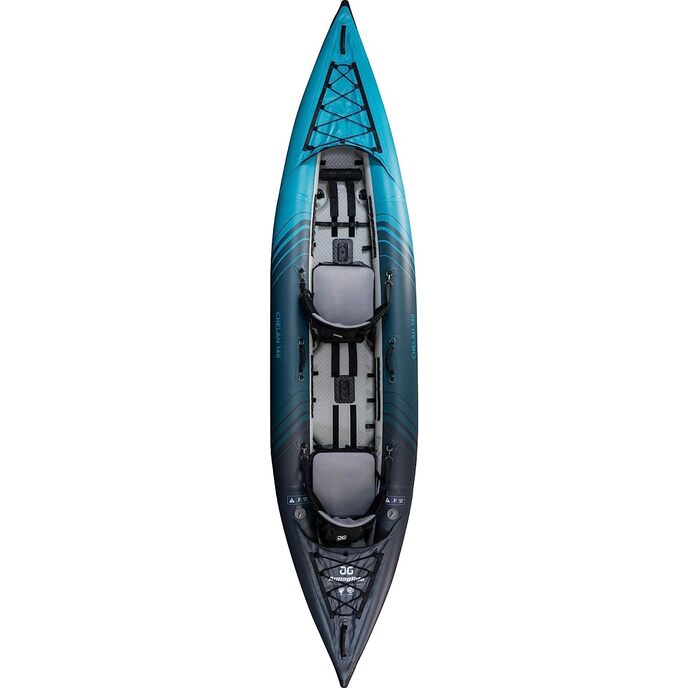
This kayak is on the water in under 5 minutes using the Advanced Elements hand pump. Total weight is 23 pounds making this a easy to carry kayak. Light weight was very important to me. The vinyl inflation tubes are completely enclosed in a grey, heavy canvas tube which provides the support for the kayak. The bright yellow canvas shell is over that. I posted a picture above that shows the kayak with the outer cover removed. The yellow canvas has a vinyl layer on the inside making it fully water proof. This is also the reason that people mention that getting all the moisture out is a challenge as the waterproof shell keeps moisture IN also. It is a trade off that I feel is worth it. This double canvas layer makes the kayak quite durable and protected from punctures. The bottom is a smooth and thick gauge material, also very durable. For the inflation bladder to be punctured, something would have to puncture through both of these canvas material layers first. A kayak that is under 10 feet in length is going to have issues with 'yaw' or having the front swing side to side as you paddle. This kayak is 8.4 feet in length. You want to plant the blade of your paddle into the water close to the side of the kayak in order to reduce this side to side swing. The upside is that this kayak is SUPER maneuverable. To not have the side to side tendency, you need a longer kayak. I was pleasantly surprised at how easy it is to paddle this kayak around. I deflate and lay it in the trunk or on the back seat of a small car. Others have mentioned that it takes time to dry this thing out. That is correct. You will need to leave it inflated, with the brown foam floor insert removed at least somewhat for a few days to fully dry out before packing it away. Full pressure is not needed, just enough to hold the basic form. Water between the grey tube around the inflation chambers and the yellow outer shell, top and bottom is the toughest to get dried out. This is the price to pay between the cheaper all vinyl, single layer kayaks and the more expensive PVC and Hypalon (hypalon being much better). List price of this kayak is about $360, though it can be found on sale. The 2 main chambers in this kayaks is neat in the fact that BOTH chambers surround you. There is a inner and outer bladder within the main chamber. If one fails, you still have inflation in the WHOLE main chamber vs just 1 side as in some other kayaks. This enables you to get to shore. It is IMPORTANT to follow the inflation instructions. You fill 1 main chamber until the kayak LOOKS like it is 1/2 full.....not 1/2 of total rated pressure. At this 1/2 visual approximation, there will be NO pressure indicated on a pressure gauge. After the first chamber is filled to the approximation of the kayak LOOKING 1/2 inflated, you move to the 2nd chamber and inflate it. THIS gets you to having about 1/2 of the air in EACH main chamber. If you blow one main chamber all the way up without putting air in the other chamber, you will damage the kayak! The 2 main chambers have a 'spring lock' type valve. They ship it with these in the deflate position. Before inflating, you press the center part with your finger and easily turn it no more than 1/4 of a turn. The inner part will then come out a bit when you remove your finger and this puts it into the one way inflate mode. Now, when you remove your pump fitting from the valve, air won't rush out. If air rushes you when you remove your pump fitting from the valve, then you need to push and turn the inner part to the position that it pops out slightly. Some people have mentioned issues with this and this is the solution. The other 4 chambers have a different fitting and I usually just blow them up manually. You can see 2 of these chambers in the grey picture above. These are the deck lift chambers and lift the front deck up so that it doesn't sag and have a puddle of water accumulate there from spray while paddling. I have found that putting something on the front deck can push it down slightly and water can come into the kayak at the middle of the front black trim around the cockpit. Even that light little tackle box in my picture does that. If I see water accumulate there, I just press up with my foot or knee to raise the middle of the deck up and the water runs off. In the picture above with me in the kayak, my feet are not against the end of the front of the kayak. I am 5'10". With your legs out straight like mine are above, one can CASUALLY paddle around and have a lot of fun. If you want to paddle longer, or faster, then the correct position is with your knees slightly bent and feet braced. Advanced Elements does sell a inflatable foot brace designed for the Advanced Frame model. that may work. They also sell foot brace peddles that are adjustable and use straps to hold them to the grey tubes. However folks mentioned that while the foot brace peddles worked, they lost too much room in the front of the kayak and ended up removing them. Having your legs bent and braced, you can use your core to paddle and maintain that 90 degree bend at the elbows that is mentioned for more advanced kayak paddling. I and others have found that you can bend your knees and press against the grey tubes on the side of the kayak and improve your paddling posture that way. This helps greatly but is not as good as having your feet braced. However, these things are for LONGER or more advanced paddling. I found this kayak to be very comfortable. I have gotten sore and legs starting to go to sleep on ONE occasion. I checked the time and I had been paddling around with my legs straight and not moving my lower body for 4 hours. If I sit in a comfortable chair for that long I will have the same problem. I shifted around and was feeling just fine very quickly. I am typically in the kayak for 3 to 5 hours which many consider to be a long time. I consider it just having fun. Personal Floatation Device (PFD). This is for the UNEXPECTED event that you end up in the water. People who have rated this kayak have said that you have to TRY to tip this thing over. But you can have something happen. I saw a post that a person shared their experience in a different model Advanced Elements Kayak on their FIRST outing in it. They stated that they are a Captain in the Coast Guard. They set out on a small, narrow channel and a person on a jet ski came around a blind curve at full speed and hit his kayak. The all ended up in the water. The kayak, amazingly wasn't damaged and no one was hurt. You cannot predict the condition you will be in should you end up in the water. If you find that your PFD is between you and the seat back, you need to get a PFD that is designed for kayaking. Kayaking PFDs are designed to be higher in the back so that your seat back is against YOU and not your PFD. Being comfortable is very important to having fun. I have used 303 Fabric Protector on all parts of this kayak except the smooth bottom / floor. For the grey floor/bottom I have used 303 Aerospace Protectant. You can find both of these here on Amazon as well as elsewhere. These will help you keep your kayak in good shape. I have hosed the kayak down with plain water. Advanced Elements warns against using strong cleaners on it and states that MILD detergent can be used. One thing that you will notice in the picture above of me in the kayak, I have everything tethered. There is a saying that I read when researching kayaking....."If you want to keep it, TETHER IT" That includes the paddle! Advanced elements sells a spray skirt that you can put onto this kayak. They don't sell anything to firm up the floor such as the drop stitch floor or the backbone that they sell for their other models. The accessories that I mentioned for this kayak are available from sellers here on Amazon as well as elsewhere. I would CERTAINLY buy this kayak again and have been really having a ball with it. As I'm out in my kayak 2 to 5 times a week with 3 to