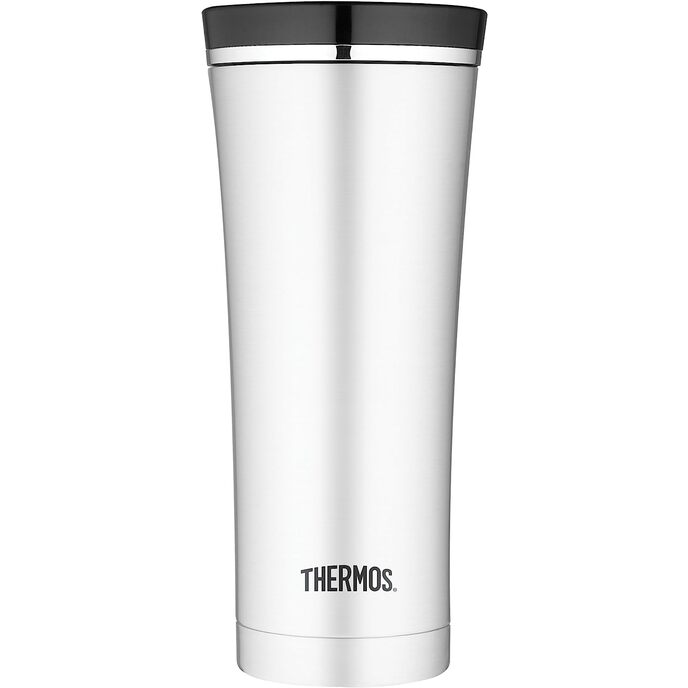
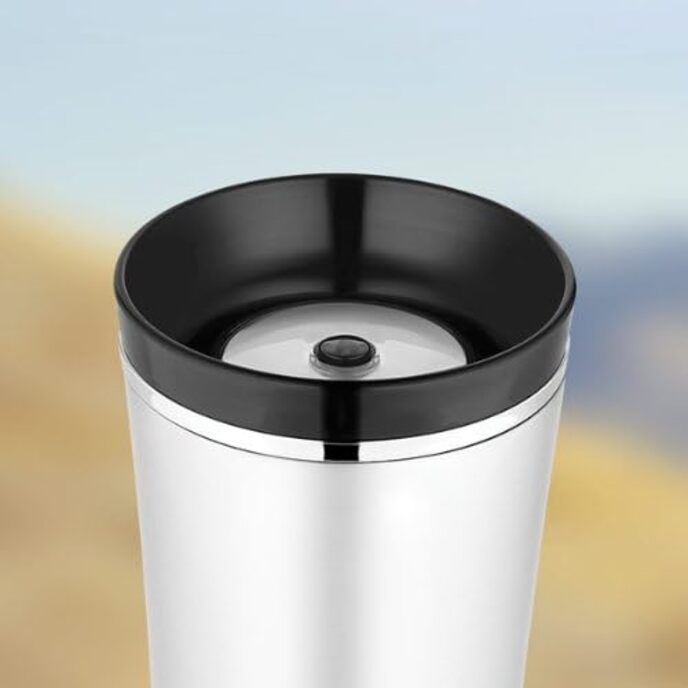
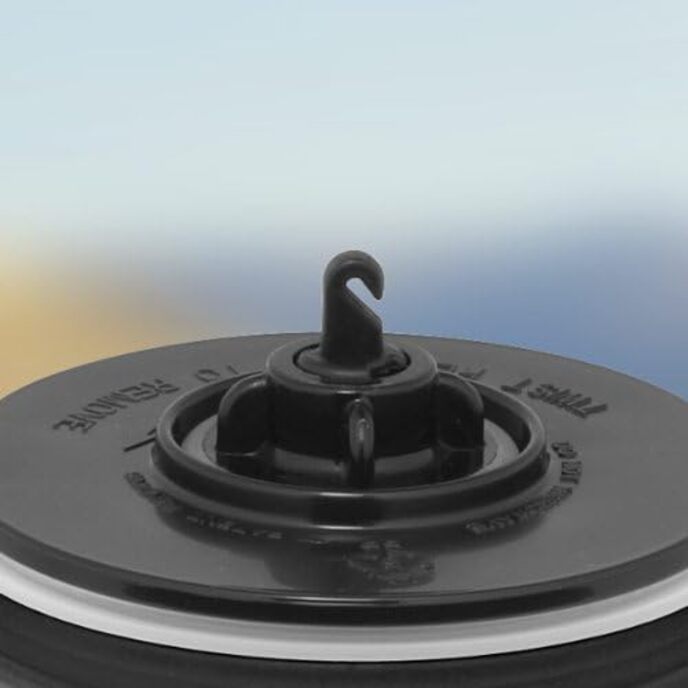
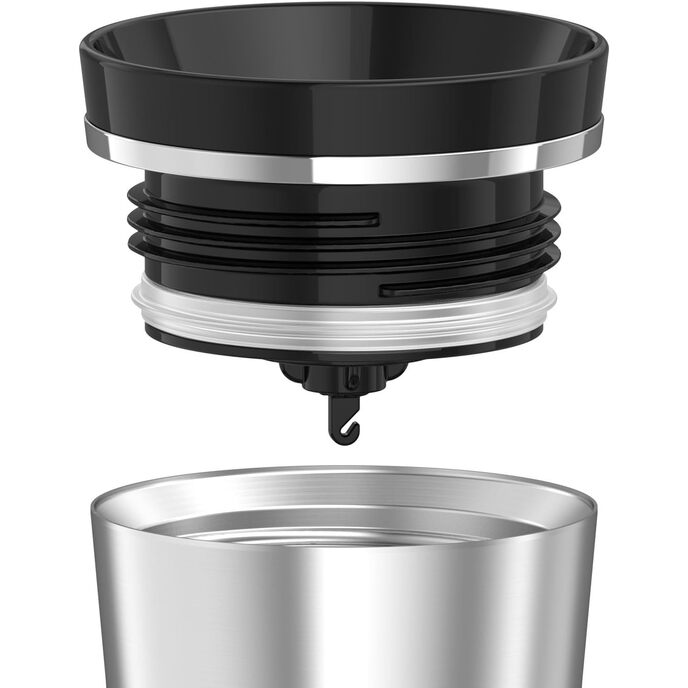
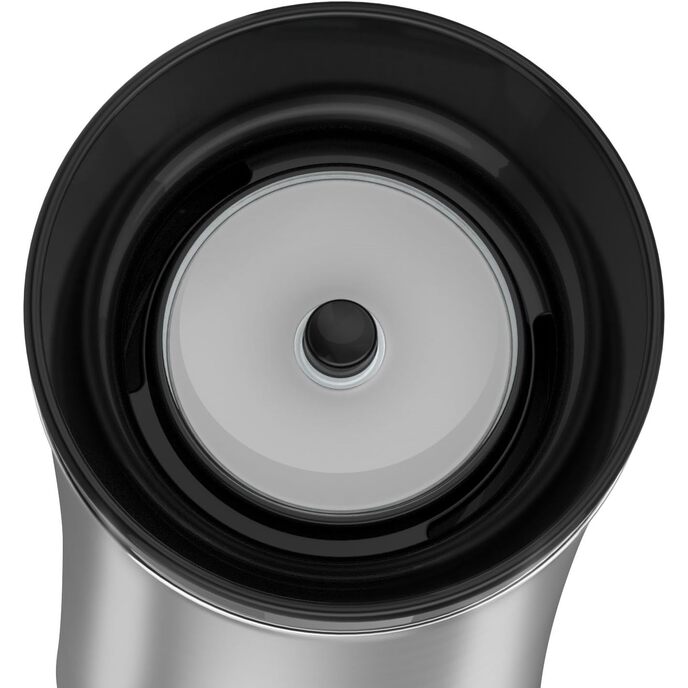
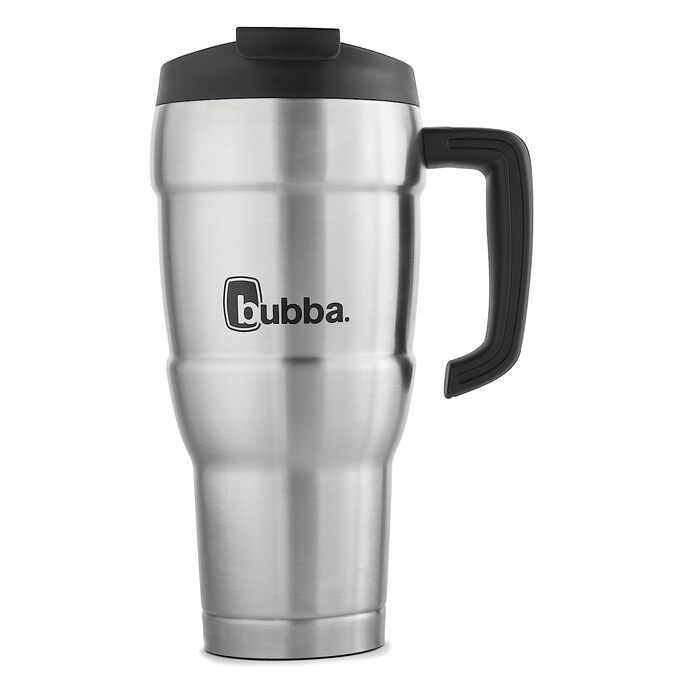
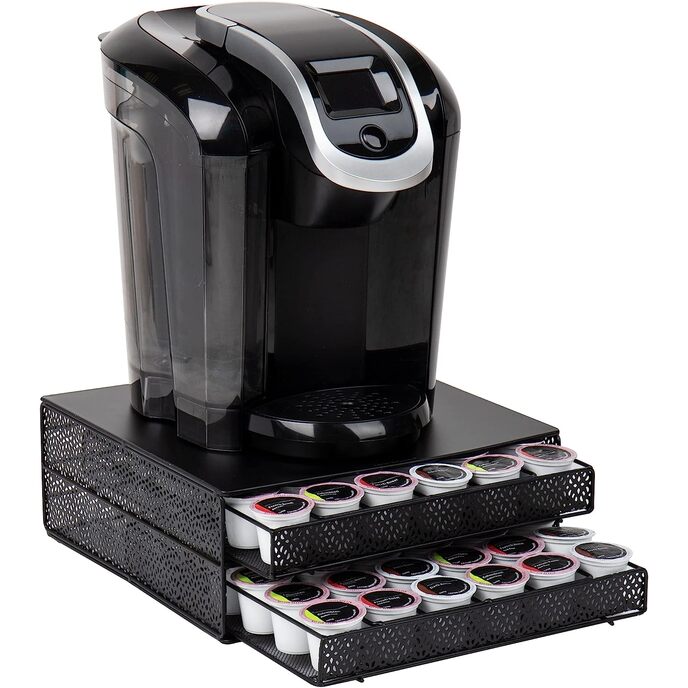
If you’re reading this review, I bet you’re like me. You drink coffee 7 days a week. Or maybe tea is your game. Or, for something really different, you prefer some type of ice-cold awesomeness. Regardless, five days a week you’re away from home, and you need a way to transport that nothing-else-tastes-like-it home brew to where you’re going. You want your hot drinks hot and your cold drinks cold. Because accidents happen, you want something that won’t spill if you tip it. And it would also be nice if it was easy to disassemble and clean. When I began looking for a travel mug I started with one from Target. It did a great job of eliminating spills, but it couldn’t be disassembled for cleaning, and it also doubled as a great hand warmer in the wintertime. Wait . . . that means all that coffee heat is getting sucked right through the mug, and half an hour after filling it, I’m drinking lukewarm coffee! So I kept looking for the perfect mug. Now you’re looking for one, and let me tell you, friend, you’ve come to the right place. I’ve had this Thermos mug for nearly a year now. If you want the quick review, here it is: Buy this mug. You’ll be glad you did. It filled my three must-have requirements, and I’m sure it will fill yours too. If you want the full play-by-play, everything that follows should help you make up your mind. Insulating Capability Thermos claims that this mug will keep hot drinks hot for 5 hours, and cold drinks cold for 9 hours. That’s fine, but when possible, I like to look at hard numbers, so I ran the following experiment. I put a tea kettle on the stove, heated it until it whistled, then filled my room temperature mug. I took the water temperature with my Weber Instant Read Thermometer, and then screwed on the lid. For the next 12 hours, on the hour, I unscrewed the lid, took the temperature, recorded it, and screwed the lid back on. Just for kicks, I also took the temperature a full 24 hours later. The results were (all temps given in Fahrenheit): 8:00AM--203 degrees F (Immediately after filling mug.) 9:00 -- 188 10:00 -- 177 11:00 -- 169 12:00 -- 162 (This is the temperature my Mr. Coffee pumps out.) 1:00 -- 154 2:00 -- 147 3:00 -- 142 4:00 -- 137 5:00 -- 132 6:00 -- 127 7:00 -- 124 8:00 -- 120 8:00 AM Day 2 -- 95 Of course, this isn’t a perfect real-world test. For one thing, your coffee is most likely not going to be entering your mug at 203F. For another, you’re going to be drinking from the mug throughout the day. That will rob the coffee’s power of specific heat, and it will therefore cool down faster. However, it should give you a general idea of the insulating capability—even if you’re a sipper, your drink will be close to the temperature it started at even several hours later. I’ve never put a cold drink in this mug, so I can’t speak to its cold-insulating capability. However, I can’t imagine it would be measurably different from its heat-insulating capability. (One tip: Whether you’re keeping hot or cold beverages in this mug, it’s a good idea to “prime” it first. What I mean by that is this: For hot beverages, first fill the mug with boiling water. Screw on the lid, let it sit for five minutes, then dump out the water and fill with your beverage of choice. For cold beverages, first fill it with ice water, or even toss the mug into your freezer for a while. One thing to note in the temperature chart above is that the greatest one-hour temperature drop occurred in the very first hour. That’s because the hot water lost some of its temperature in warming up the room temperature mug. Heat (or cool) the mug up first, and you won’t experience that temperature transfer.) The Tumbler The tumbler is made of a double-wall insulated stainless steel body. It is 7.5 inches tall and weighs 10.6 ounces (14.6 with the lid). Keep the height of the tumbler in mind if you plan to use this with some type of Keurig system—it JUST fits under the one at my place of work. The Lid The lid disassembles into 5 pieces: the main body, a ring gasket, a plastic disc, a small gasket, and a cap which locks everything together. It disassembles and reassembles very easily. The only trouble you may have is which direction to orient the ring gasket. One side is smooth, and the other is peaked. It’s this peaked side which mates with the plastic disc to create the seal described below. An included hook is handy for hanging tea bags. There are 2 holes on opposite sides of the lid. While liquid is exiting from one, air is entering the other, making for a smooth pour. However, with this style of opening, be aware that this might happen to you: You grab the mug in the dark or without looking, and tip it to drink. Unfortunately the holes are lined up left-right instead of up-down, and coffee pours down your neck. This has happened a few times to me. If you pay attention to the orientation of the openings, it won’t happen to you. Cleaning Cleaning the tumbler is simple—soapy water and a bottle brush will do the job. As for the lid, the gaskets, disc, and cap are all relatively easy to clean, and can be completely cleaned if you have the time and willingness. The cap is the tiniest and most difficult part to clean—there are some corners and angles you may need to use a q-tip on. The main body of the lid which contains the spring for the push button operation cannot be disassembled. Because of that you’ll see some staining/particles in spots that are hard to get to. How much that bothers you is up to you. I’ve ran mine through the dishwasher to take care of this, with moderate success. “Spill-Proofness” The operation of the mug is simple. There is a button in the center of the lid. One push ‘opens’ the lid; another ‘closes’ it. In effect, what is happening is that you are creating or closing a gap between the plastic disc and a rubber gasket. While this system works flawlessly, it’s difficult to near impossible to look at the mug and know whether or not it’s open. After a while, you’ll be able to tell by the sound of the push button click whether you are opening or closing the mug, but not at first—the only sure way to tell will be to tip it and see if anything comes out. When the lid is assembled correctly, screwed on tight, and closed, it is completely spill proof. Tip it, drop it, or chuck it—no liquid is coming out of the tumbler. I did say tumbler and not lid for a reason—it is possible (and it will probably happen often) that liquid will remain in the interior of the lid after the mug is push-button closed. Tipping the mug at this point will result in whatever liquid is trapped coming out. If you want to be super-spill-safe, push-button it closed, tip and sip any remaining liquid, and you’re good to go. Some Negatives and Resolution There were a few issues I had with the mug within the first few months of purchasing it. All had to do with the lid, one was my fault, and all were either minor issues or were resolved. 1. The paint on the chrome band (the ring between the lid and tumbler) began flaking. This detracted from the appearance, but that wasn’t my issue with it. The paint didn’t just flake off. Flakes lifted, bent, and remained partly attached, and let me tell you, those flakes were SHARP! I had a habit of holding the tumbler in one hand and gripping it around the band, then twisting back and forth. Those sharp paint flakes cured me of that quickly. I ended up with tiny cuts all over my fingers. 2. The band is not metal; it’s made of plastic and painted chrome. If you drop this mug and it hits directly on the band, the band will break. I know this because I did it. The lid being band-less affects nothing but appearance. It will not cause the mug to leak or lose insulating properties. 3. The inner threads of the lid began breaking. It wasn’t enough to cause the mug to leak, but there were substantial portions of the threading breaking off. Now, keeping in mind the above issues, you may wonder why I rate this mug so highly. Here’s why: I ca