AA Warehousing 12 gaiši zelta lustra

Brand:AA Warehousing

3.4/5

271.86

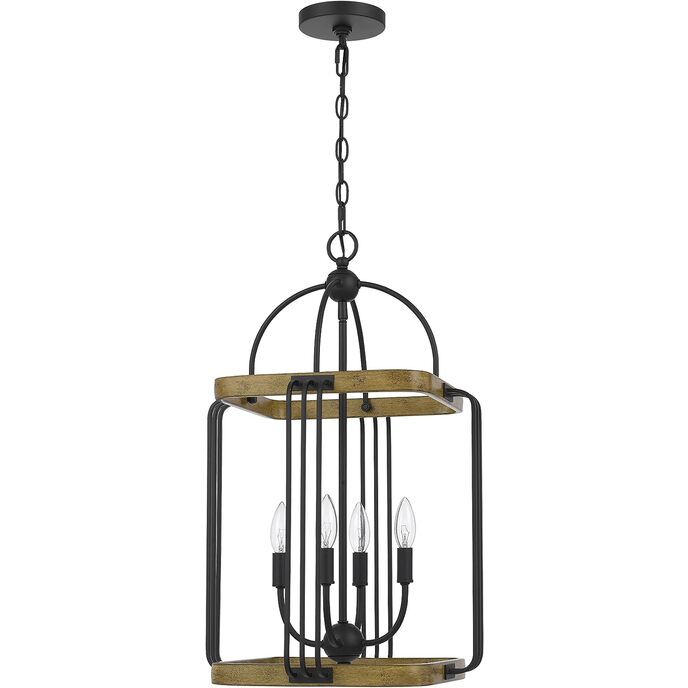
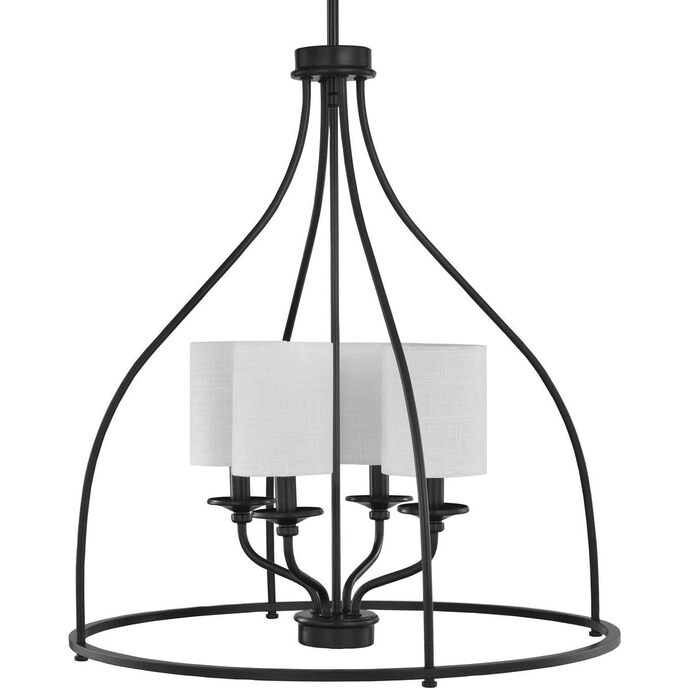
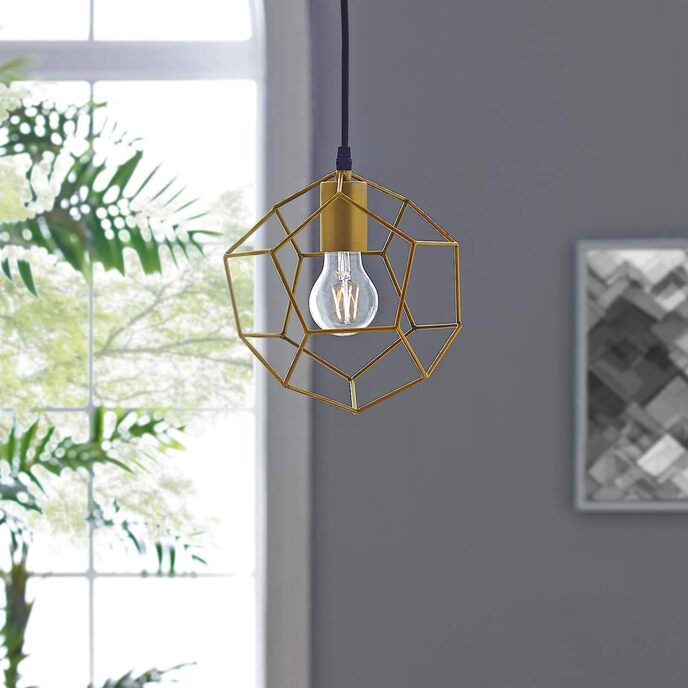
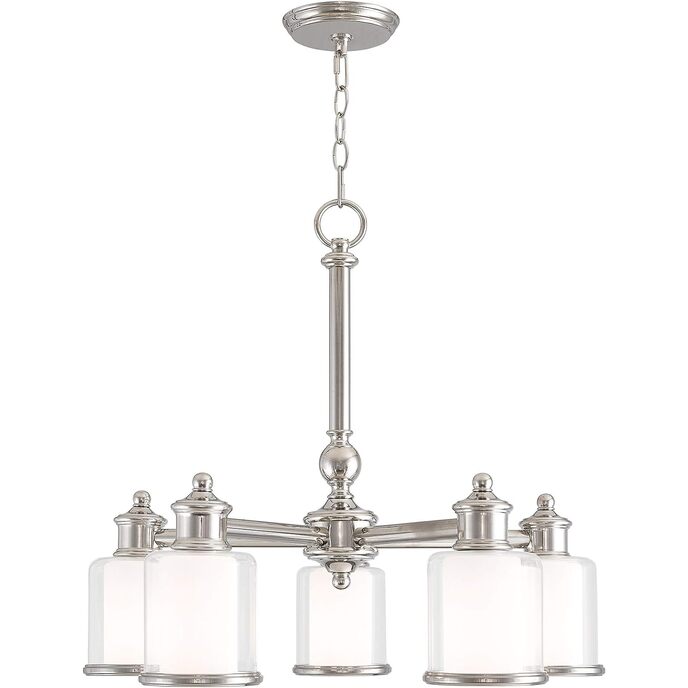
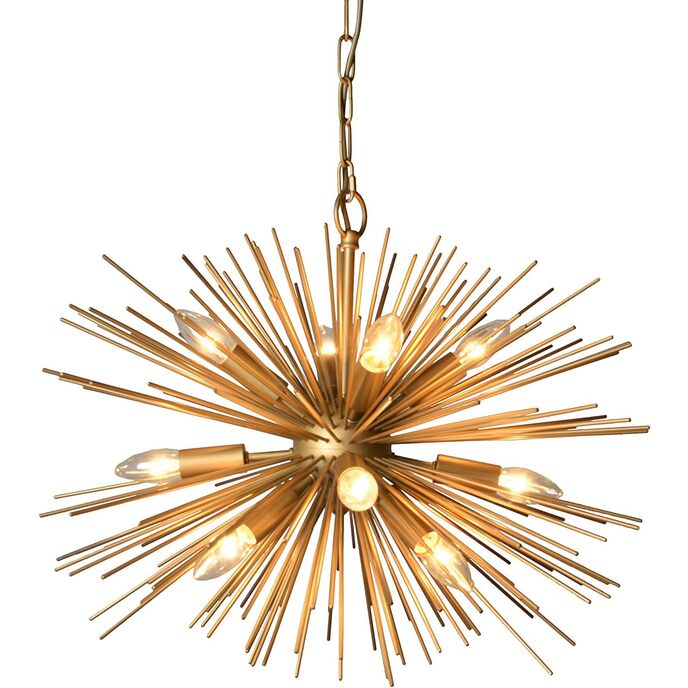
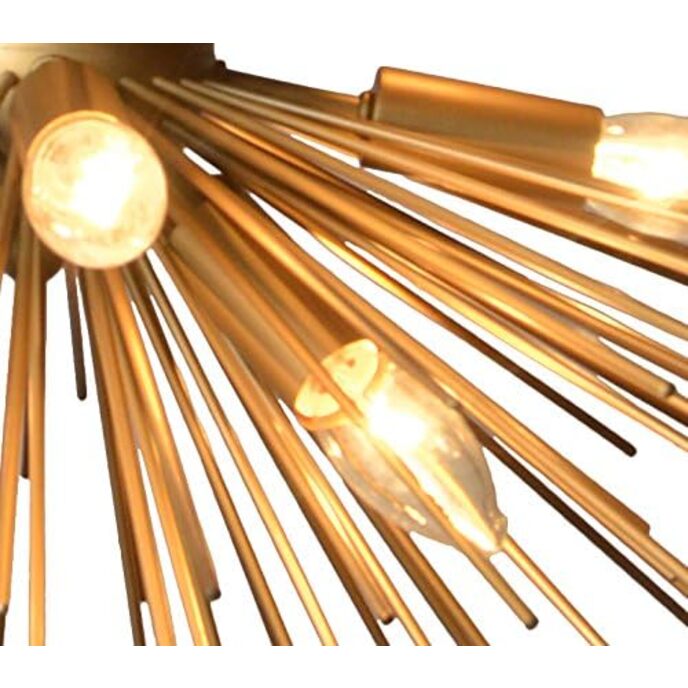
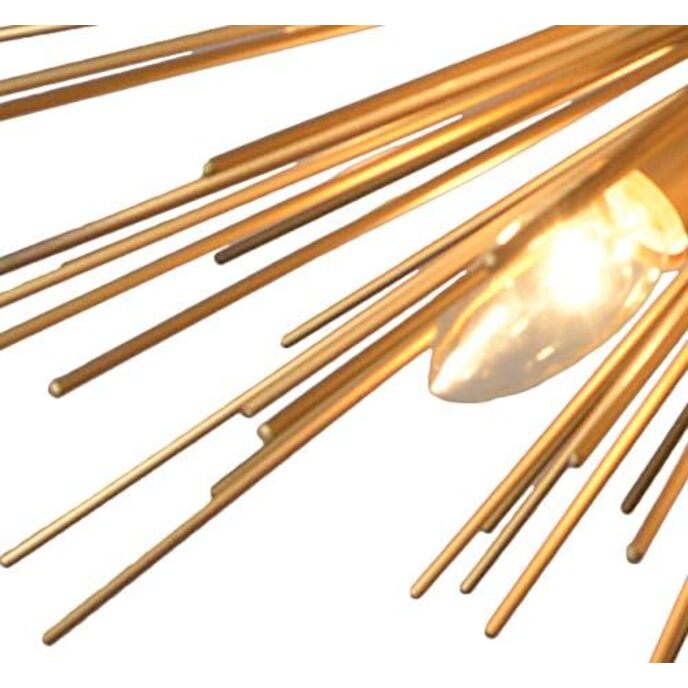
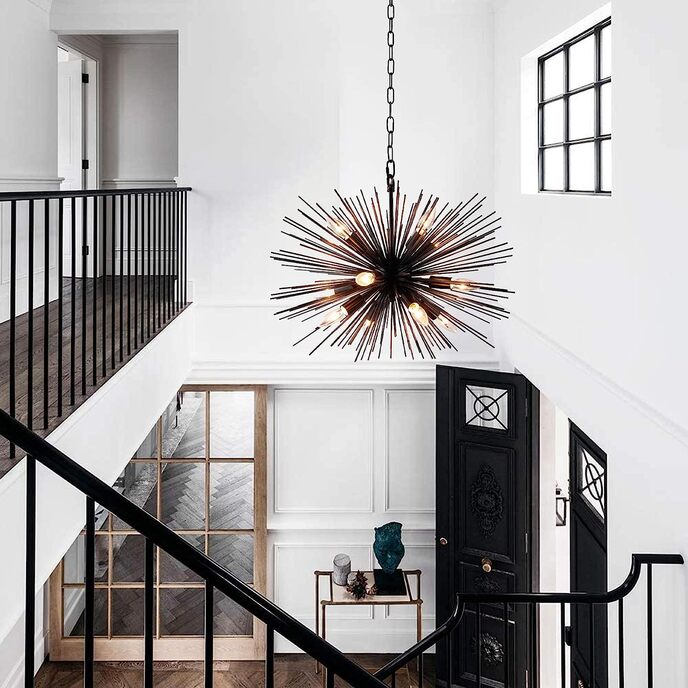
12 Gaiša lustra zelta apdarēFunkcijas:Lustras tips: Sputnik lustra Spriegums (volti (V)): 120Spuldzes jauda: 60Kopējais lūmenu skaits: 9600Spuldzes tips: Kvēlspuldze Spuldzes pamatne: svečtura pamatne E12Aptumšojama; Uzstādīšanas pakalpojums ar vadu Apstiprināts Slīpu griestu uzstādīšana Saderīga ar CE sertifikātu; UL un cUL sarakstā39,4 collas Ķēde iekļauta 1 gada ierobežotā ražotāja garantija attiecas uz produktiem, kas iegādāti no Y-Decor. Garantija attiecas uz visiem materiāla vai ražošanas defektiem, kas radušies normālas lietošanas laikā garantijas laikā. Y-Decor var salabot vai nomainīt produktus vai izstrādājuma daļas, kas izrādās bojāti. Garantija neattiecas uz problēmām, ko izraisījusi nepareiza apkope, dabas katastrofu izraisīti bojājumi, izstrādājuma zādzība vai pazaudēšana. Mūsu parādītajiem digitālajiem attēliem ir pēc iespējas precīzāka krāsa. Tomēr datoru monitoru atšķirību dēļ mēs nevaram būt atbildīgi par faktiskā produkta un ekrāna krāsu atšķirībām.

Svars: 15 mārciņas. CE sertificēts; UL un cUL sarakstā; 39,4 collas iekļauta ķēde. Apstiprināts uzstādīšanas pakalpojums; Saderīga uzstādīšana ar slīpiem griestiem. Spriegums (volti (V)): 120, Spuldzes jauda: 60; Kopējie lūmeni: 9600; Spuldzes tips: kvēlspuldze; Spuldžu pamatne: sveču pamatne E12; Aptumšojams; Ar vadu. Lustras tips: Sputnik lustra.
Assembly required Yes
Batteries required No
Brand AA Warehousing
Bulb Base E12
Color Gold
Control Method App
Customer Reviews 4.4 4.4 out of 5 stars 176 ratings 4.4 out of 5 stars
Finish Type Gold,Gold Finish
Finish types Gold,Gold Finish
Indoor/Outdoor Usage Indoor
Is Discontinued By Manufacturer No
Item model number LZ3349-12
Item Weight 8 Pounds
Light fixture form Chandelier
Light Source Type Incandescent, LED
Manufacturer AA Warehousing
Material Steel
Number of Items 1
Number of Light Sources 12
Power Source AC
Product Dimensions 24 x 24 x 15.8 inches
Special Feature Dimmable
Specific instructions for use Decorative lighting for indoor use
Specifications CE, UL, cUL
Style Modern
Voltage 120 Volts
Warranty Description One year limited manufacturer warranty applies to products purchased from aa warehousing. Warranty covers any defects in material or workmanship under normal use during the warranty period. Aa warehousing may repair or replace products or parts of the product that prove defective. Warranty does not cover any problem caused by improper maintenance, damage resulting from natural disasters, theft or loss of the product.
Wattage 720 watts

3.4

3 Review
5 Star
77
4 Star
6
3 Star
6
2 Star
4
1 Star
7

Uzrakstiet savu atsauksmi

Jūsu e-pasts netiks publicēts. Visi obligātie lauki ir atzīmēti ar*

Scritto da: EpicLilly
From Our Wedding to Our Bathrooms
Ok here’s the deal, you have to put in the work to put these together, but once they’re together boy do they shine. We used these to light up our wedding reception. And it was like the secret garden! We used color changing lightbulbs with a remote to add interest. We used 4 to light up the room since they’re bright and a little ambient lighting. Our decorator wanted to charge us $2k to rent them, but I saw this brand on Amazon and saved us $1400 in rental money. They’re now going over our new bathtub and in our powder room. They really are worth it. Putting Them Together: My wife and I followed the advice of others in the reviews and got out band aids, oil, wine, and Netflix. We put them together in the evenings after we were fed and dishes were done so we wouldn’t be pressed to do anything else. This take patience and following the 80/20 rule. Not all of them are going to screw in the way you want them to, but once they’re in, they don’t fall out. Follow the rod installation pattern of previous reviews, they were our installation instructions. The little tool to help the screws go into the base was broken in 2 of 4 boxes. Drink wine or a mocktail and let the frustration go. They will look perfect when you finish. Helpful Notes: we bought gold colored lamp cord with stripped ends (also on Amazon) and used compact electrical splice wire connectors to be able to plug these into an outlet. We weaved the gold lamp cord into the chain link for a seamless look and then wrapped the wire around the pole stands to the outlet. For home, we removed the lamp cord and tied the wire directly into wiring of the house (photos to come). If you’re a wedding decorator, interior designer, or just like beautiful lighting these are for you! Definitely worth the money.
Scritto da: L2B
Love the chandelier, hate the instructions
Here's the great thing about this chandelier, once you have it assembled you never have to do it again, plus it looks amazing and is worth all the fuss. Here's some helpful tips (hopefully they are helpful) 1. Be careful using the tapping tool, you can over do it then need to use thread tape to keep the rod from being too loose and getting pushed into the sphere part of the light. I would not pre-tap the holes, only a few needed a little help. 2. Cover the index finger of both hands and your thumbs with fabric bandaids, you will get blisters from screwing the rods in without the bandaids, plus it gives you more grip. There is no way to rush the process, it took 8 hours over 2 days to screw those suckers in. 3.Lubricate the threads before trying to screw the rods in, I used the white lubricant for the garage door openers (just a little bit is needed). If the rod doesn't easily turn try rolling it back and forth between your finger and thumb, if you get it to start turning, let go and see where the rod sits on its own then continue trying to screw it in. I found you can pull up on the rod while trying to insert it and it won't turn. 4. You have to thread the silver wire and copper wire through the down rod, up through the chains (hold it up to your ceiling to get an idea how low you want the fixture to hang before continuing the installation process, then remove any excess links). Inset the wires through the short metal rod that attaches to the bracket you screw to the ceiling. Do this before attaching the bracket. Attach the silver ground wire around the screw that says "ground" (it's painted green) and attach it to the ground wire coming from the ceiling. Now screw the bracket to the ceiling. I didn't use the screws that came with the fixture because they look like sheet metal screws, I used wood screws that are intended to hang a ceiling fan (I'm no expert, it just seemed more sturdy). 5. Make sure the gold cover and locking nut are slid down toward the actual fixture before you attach the wires and bracket. 6. The wire for the fixture has a coating on the outside (it's gold/yellow), if you run your finger over the sides you will feel a small ridge on one of them, this one you attach to the white/neutral wire coming from the ceiling, the other you attach to the black wire. I confirmed this with a google search, stumped an electrician at work, there was no evidence of fire after turning the power back on and I didn't get zapped screwing in the bulbs, so...seems right. 7. I bought dimmable bulbs because I installed this in my master bedroom, it is a very bright light with 40w bulbs. *extra suggestion; while assembling the light (during the insertion of the rods) for the first half of the rod instal you can comfortably hold the fixture on your lap, but for the other half you cant, using the box and styrofoam the light came packed in I was able to set the light on the box with the rods poking into the styrofoam to hold it in place while finishing up the rod insertion. **there is a pattern to installing the rods, if you look closely at the stupid instructions you can see a solid dot for the short rods and an open dot for the long ones, it's the easiest part to figure out IMO ***have a good movie on while inserting the rods, I recommend Ferris Buellers Day Off. :)
Scritto da: Tom Steele
Beautiful!!! But a but time consuming.
This light fixture is beautiful! It was the perfect addition to my daughter's bedroom remodel. I had read previous reviews about the tedious assembly so I was already aware of what I was getting myself into. As long as you understand that the assembly will take 2-3 hours (not including the time to hang the light) and you have some patience then you will be fine. Tips: 1.) Wear bandaids on the tips of your fingers to prevent blisters when screwing the hundreds of gold rods into the gold base. I would also recommend wearing a vinyl surgical glove over that hand as well. Both of these things completely helped avoid blisters on my fingers. 2.) Pour a bit of oil lubricant on a dry dish sponge. Any kind will due. I used a 3 in 1 oil lubricant that lubricates and prevents rust. Spin the threaded part of the gold rod in the oil to mildly lubricate the threads. This really helps when screwing it into the gold base. 3.) I placed a blanket on my lap and sat the gold base on it and began inserting the rods into the base one by one. Put on a good movie. You should be finished by the end of the movie :) 4.) The diagram/drawing that they give you is HORRIBLE. It took me a while to figure out what they were trying to tell me to do. Here it is: a.) The gold base sphere is divided into two parts (a top and a bottom). Each part has 5 rows. When inserting the rods into the holes, the pattern will mirror itself. Row 1 is the smallest row at the top. Row 5 is the longest row in the center of the sphere. When you finish the pattern for the top 5 rows, you will then flip the base over in your lap and do the exact same pattern again on the bottom section with Row 1 being the smallest row at the top again. b.) Pattern: Row 1: All short rods Row 2: All short rods Row 3: Lightbulb, Short, Long, Short, Long, Short, Lightbulb, Short, Long, Short, Long, Short, Lightbulb,......follow this pattern all the way around Row 3 (There should be short rods on both sides of the lightbulbs) Row 4: All long rods Row 5: All long rods There is NO on/off switch on this light. It must be hardwired into the ceiling and a light switch must be used to turn it on/off. We added a dimmer switch because we knew that it would be a very bright light. The dimmer switch makes it much more functional. My daughter turns it on the dimmest setting to provide soft glow as a night light and uses the full brightness when she really wants her room bright. And yes, it brightens up her room beautifully!

Saistītie produkti

Atklājiet mūsu starptautisko tīklu

Mēs piegādājam uz 28 valstīm, vairāk nekā 200 000 produktu. Esiet informēts, abonējiet biļetenu.

Array