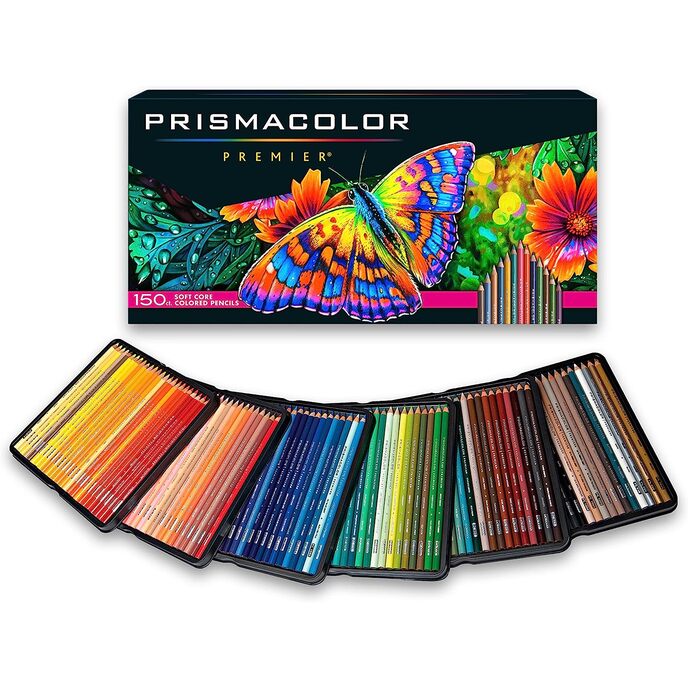
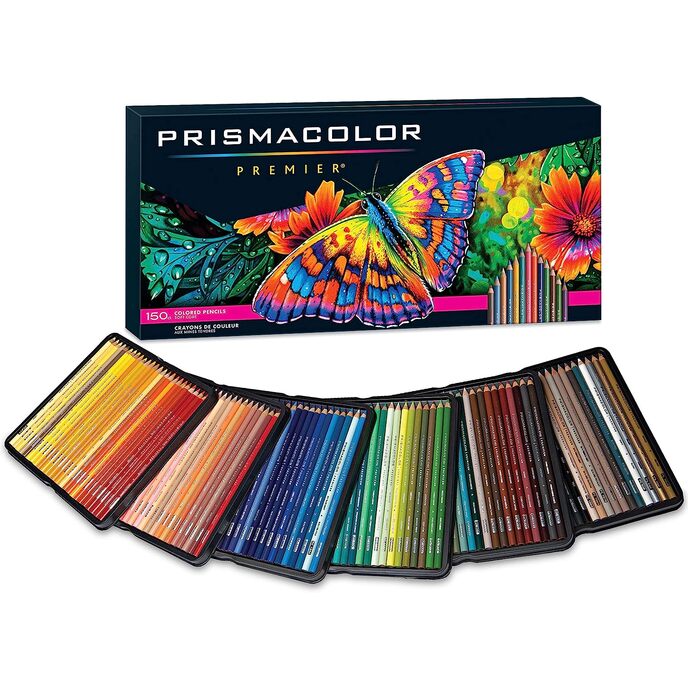
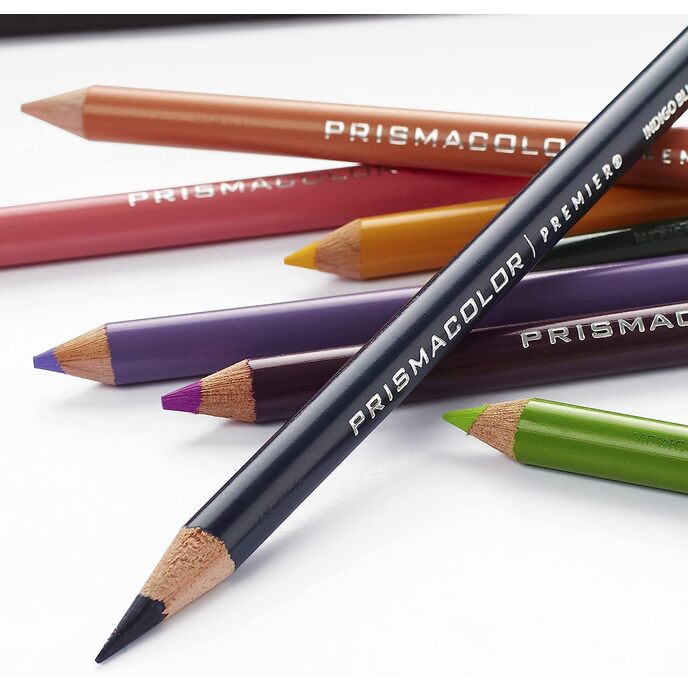
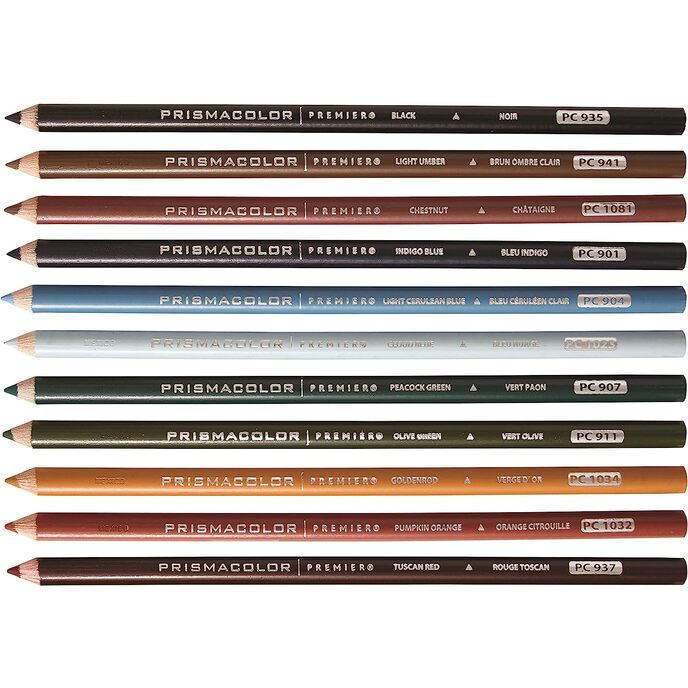
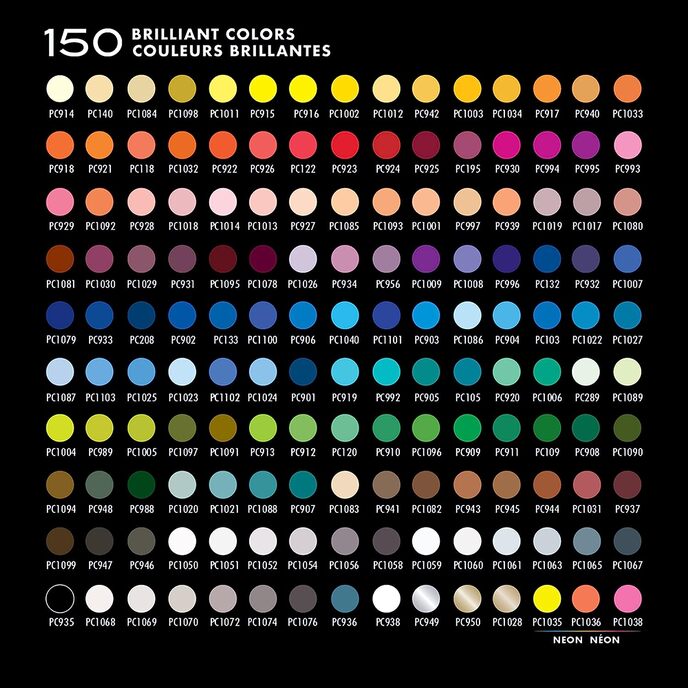
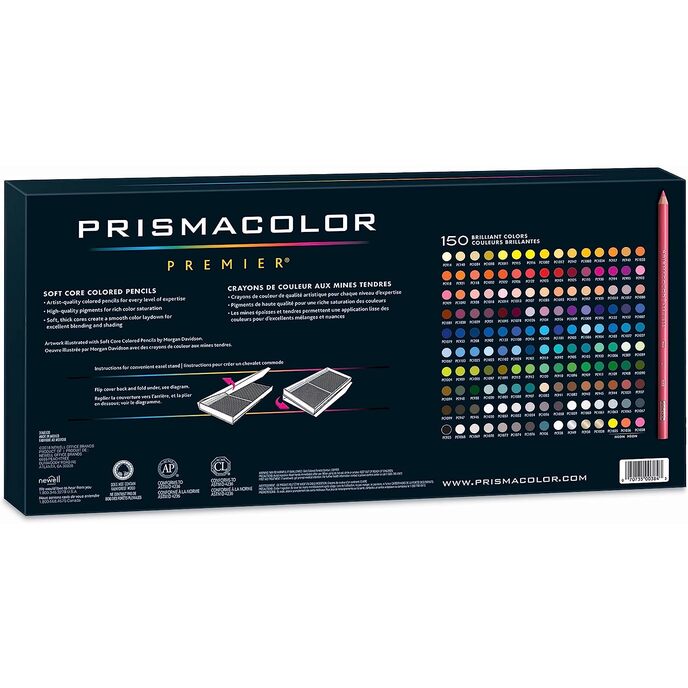
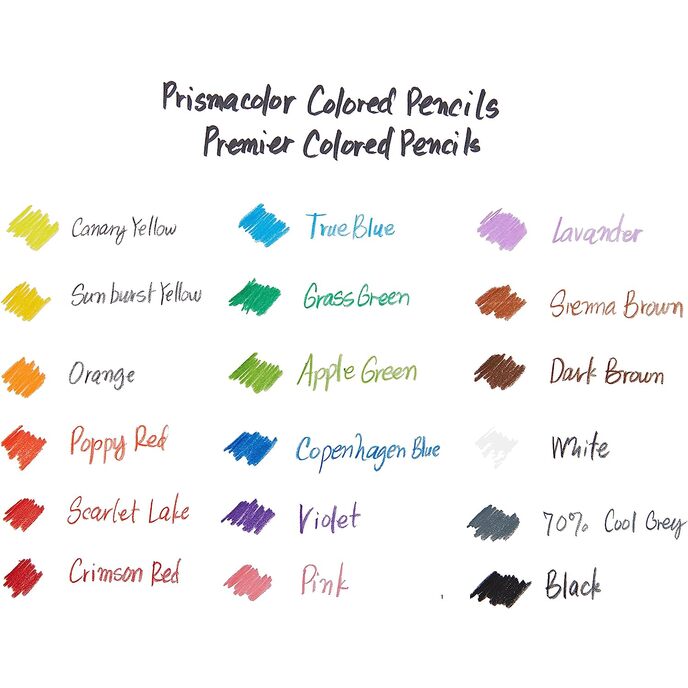
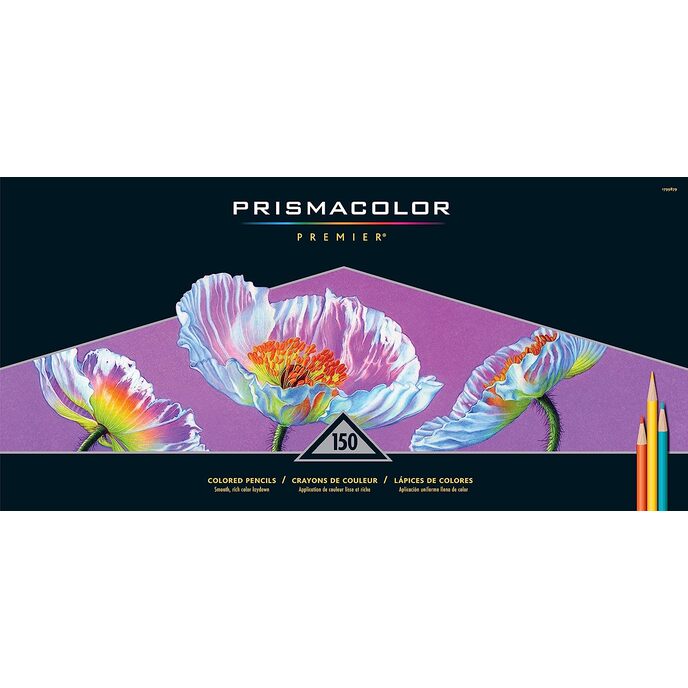
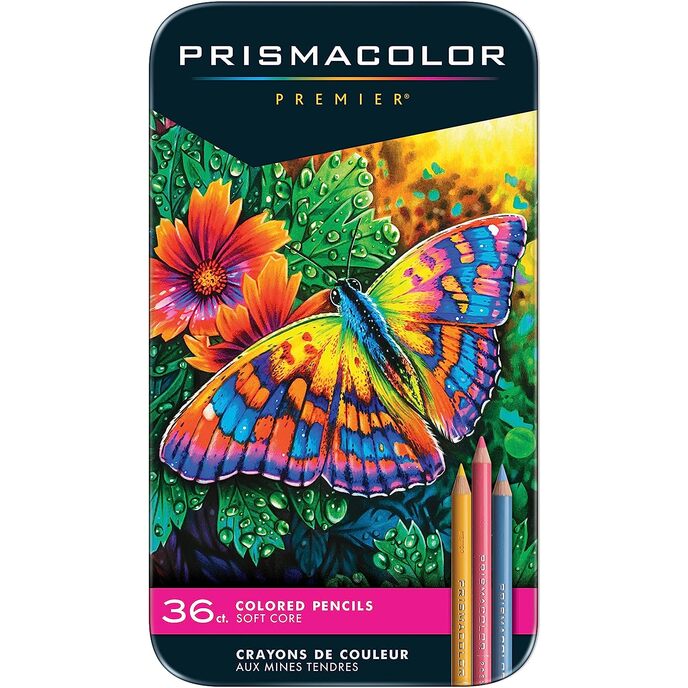
I originally purchased the 36 set of Prismacolor Premiere Soft Core colored pencils to test them out and immediately fell in love them. They have great color saturation. They blend effortlessly like butter, even without a blending pencil. They have a gorgeous creamy laydown that smoothly layers to create custom colors. In short, they are miles ahead of hard pencils like Crayolas, if that's what you've been using. After a few years' time I upgraded to this 150 set and I'm so thrilled! If you're hesitant to purchase the full set due to the replacement cost, you can purchase individual pencils at Blick if you burn through certain colors more than others, so you don't have to re-buy the full 150 to replace a handful of pencils. I use these for adult coloring books, everything from NASA's Earth & Space to the fashion Mode Parisienne (both available on Amazon and Blick, buy them!), and hope to use them for original art as I get back into drawing again. PURPOSE: These are soft lead pencils, which means they're meant for blending, shading, creating custom colors and covering large areas. I've most often seen these compared to Faber-Castell Polychromos (though those have an oil binder and the Premieres have a wax one, and the Premieres are significantly cheaper). The Premiere Soft Cores blend effortlessly even without a blending pencil. However, I have grown to love the way a blending pencil smooths and evens the texture and use one frequently. (I've used both the Prismacolor Colorless Blending Pencil and Derwent Blender with these, and I think I prefer the Derwent.) The Premiere Soft Cores are not sketching pencils. For that use you would need a hard lead pencil, like the Prismacolor Verithin colored pencils, Derwent Studio colored pencils or standard drawing pencils. (Note that while we use the term "lead" to refer to pencil cores, pencils no longer contain lead. Colored pencils, like Prismacolors, are typically made of wax and even drawing pencils are made of graphite, not lead.) Tip: If you can't afford to buy both the Prismacolor Soft Cores and the Verithins, opt for Watercolor pencils instead. Used dry they tend to be pigment dense, are softer and blend better than Verithins, but are harder and hold a point better than Soft Cores -- making them a nice middle ground. Prismacolor's Watercolor pencils come well recommended, though I haven't used them myself. I have an inexpensive 24-set of General's Kimberly Watercolor pencils and have been very happy with how they work dry. (Both brands are available on Amazon and Blick.) COLORS: A wonderful range of colors, worth the price of the 150. (Tip: if you shop around on Amazon and Blick you can find the set for $85-$90. I bought a "used" set for $80 that is in every way indistinguishable from a new set.) Here's the color breakdown: 6 cool greens, 5 warm greens, 6 muted cool greens, 6 muted warm greens; 4 aquas; 8 cool blues, 6 neutral blues, 6 warm blues, 4 muted blues; 7 cool purples, 4 warm purples; 4 orange-toned peaches, 3 pink-tone peaches; 5 cool pinks, 5 warm pinks, 3 muted pinks; 6 cool reds, 4 neutral reds, 3 warm reds; 8 oranges; 6 bright yellows, 6 muted yellows; 8 beiges, 7 cool browns, 7 warm browns; 6 cool greys, 6 French greys, 6 warm greys; black, white; metallic silver, metallic gold. That may seem like a lot of greys -- and it is -- but they're invaluable for creating muted tones of existing colors. The color selection comes ordered in Prismacolor's mysteriously chosen arrangement, which I find odd and confusing. While making a color swatch chart I found it's better to re-order the pencils in the arrangement noted above. YMMV. **Note:** the warning on the back of the box ONLY applies to the Metallic Gold pencil because it contains copper (this info comes directly from a Prismacolor customer service rep). PACKAGING: The packaging is beautiful, protective and useful. The box closes with a magnetic flap and flips back to work as an easel, propping up the pencils for easier selection. The trays have finger slots at the top and bottom to make for easier removal. The trays also have individual pencil slots to prevent the pencils from rolling around once you remove one, and the slots are tapered at the sharpened end to allow you to more easily pick up the pencils. CONS: The only downside to the Premiere Soft Cores is in the labeling. The color names are individually labeled in stamped silver ink, which I often find difficult to read. A few of the pencils are marked in stamped black ink and they are much easier to read. I'm hoping that Prismacolor switches to labeling all pencils in black or white inks in the future. Also, the color names are in the middle of the pencil barrel, which means if you store them in a travel case (I do) the names are covered up by the elastic bands. It also means that once you reach the halfway point of use the names are no longer visible. Fortunately, each color has a unique number which is large and stamped at the ends, making it easy to identify the individual pencils if you include the number with the color name when creating color swatch charts (I do). SHARPENING: I've had no problems at all sharpening these using a simple Mobius & Ruppert Brass Round Double Hole hand sharpener (available on Amazon and Blick). As with all soft lead pencils, sharpen the Prismacolor Premiere Soft Cores using the large bore (hole) of the sharpener instead of the standard smaller bore. Press the pencil against the blade while turning the sharpener. This creates a short sharp point that doesn't risk breakage or crumbling. It also doesn't chew as much wood as using the smaller bore (which makes a longer point), so having to resharpen the short point more often doesn't burn through the pencil quickly. ADDITIONAL TIPS ON SHARPENING: Here are some other tips I've learned... 1. Many sources state that when sharpening colored pencils by hand you should hold the sharpener in your dominant hand and turn the sharpener, not the pencil. Turning the pencil instead (as most of us are used to doing) can stress the wood and torque the lead, which leads to breakages. 2. A dull blade will start shredding or choking the wood. Try changing blades. 3. Wax pencils, like colored pencils, dull sharpener blades more quickly. To combat this, run a simple graphite pencil through the sharpener periodically, like every 6-8 pencils. This cleans the sharpener and maintains the blades. (Tip: use artist pencils, even cheap $1 ones, not No.2 school pencils - they suck for this purpose.) If that doesn't work for you: I actually do this odd hybrid method of sharpening, where I turn both the sharpener and the pencil simultaneously. (I don't know why I started doing this; it just happened.) I get nice sharp points with this method: 1. Place the sharpener so the blade side is facing the floor or away from you, with your palm facing upward. 2. Then rotate the sharpener towards you with one hand while simultaneously turning the pencil away from you with the other, in one smooth movement. It's kind of similar to the movement you make when wringing out a wash cloth. 3. Repeat as needed. *If it feels more natural to turn the sharpener away from you, then switch hands and do the reverse movement. Though it goes against conventional wisdom, I hold the sharpener in my left (non-dominant) hand because I find that turning towards me is a more natural movement. (Again, don't know why, just do.) SOME TIPS ON PRESERVING THE POINT: Here's how to sharpen less often, preserving the length of your pencils... 1) After sharpening do the smallest areas, corners and edges first, while the tip is still pointed. When the tip begins to blunt move to the larger areas, where a blunted tip is more effective at covering large areas anyway. This prevents you from having to resharpen more often. 2) To extend the longevity of the points and the pencils, get an artist's sanding block. This is essentially a stack of fine sanding paper att