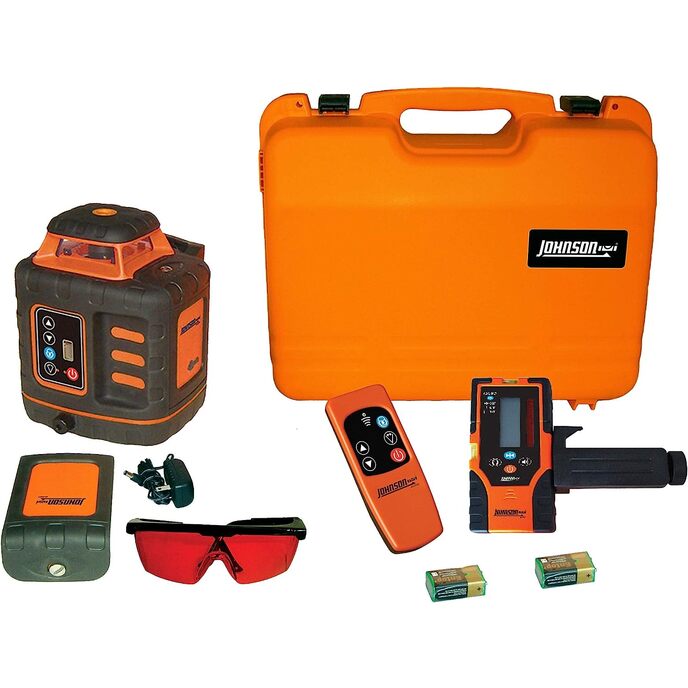
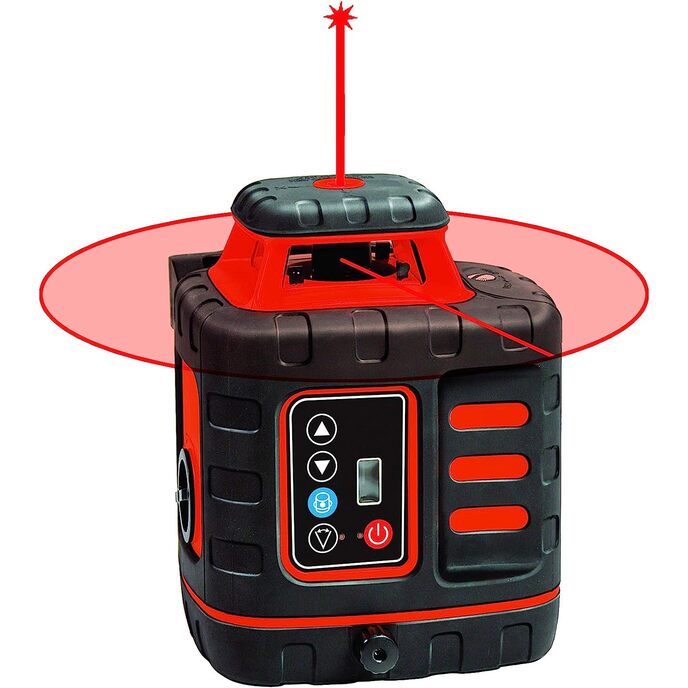
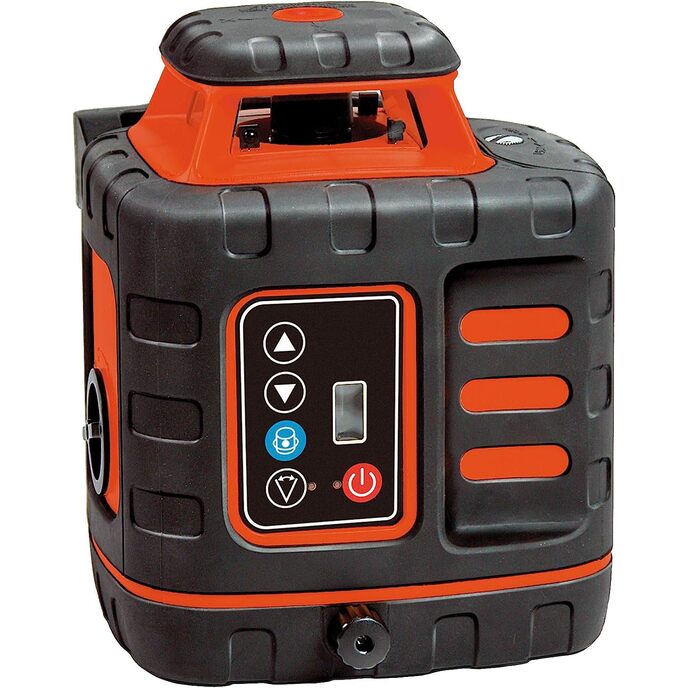
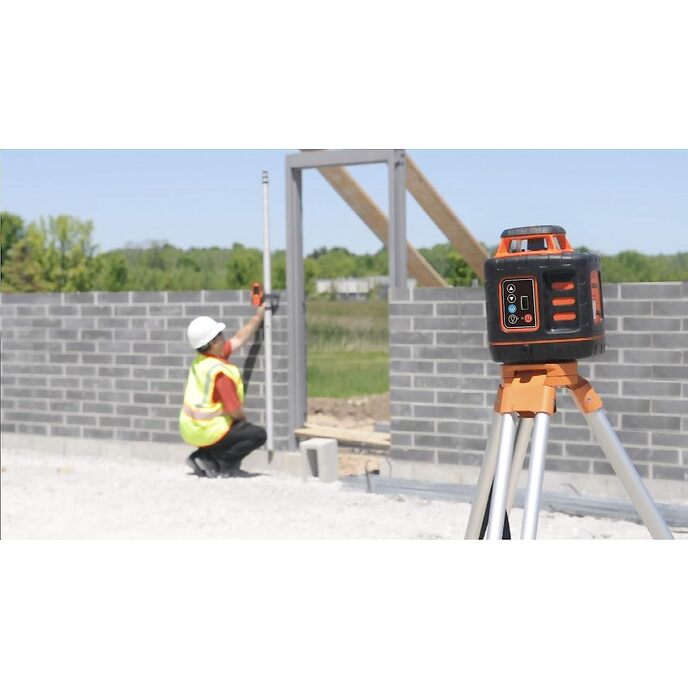
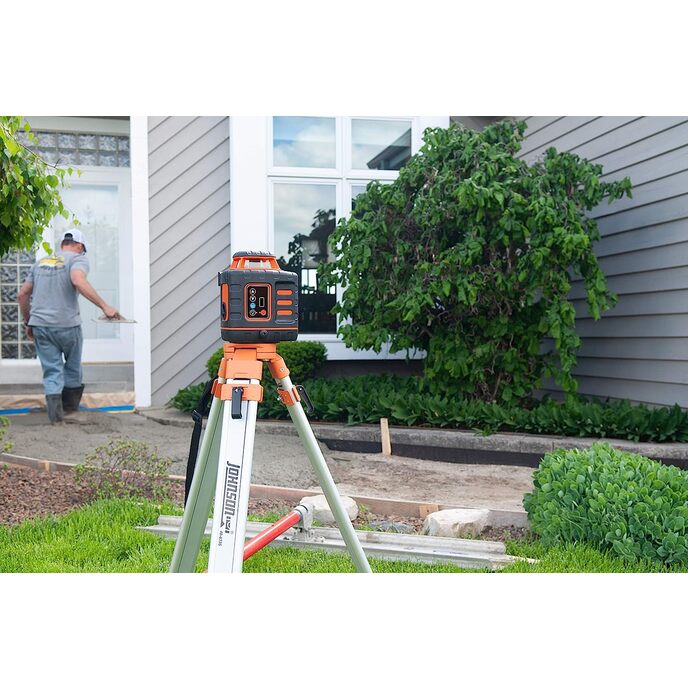
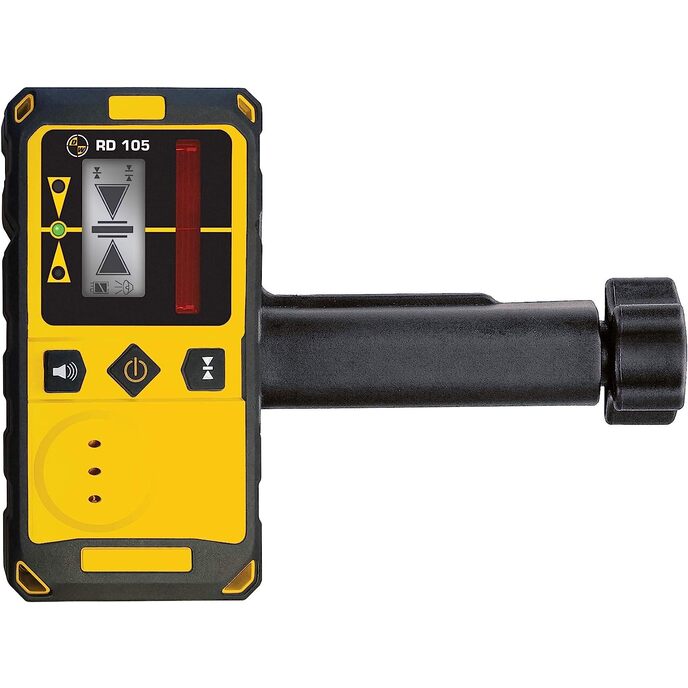
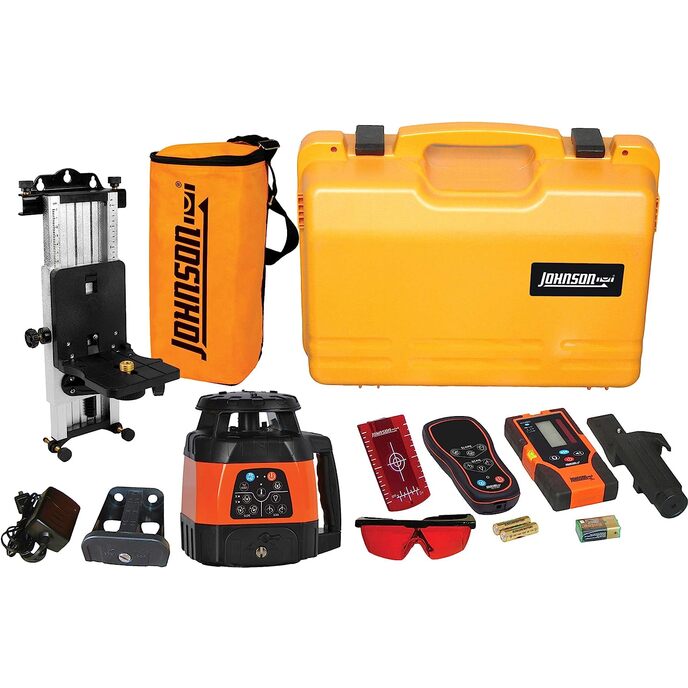
Only in use for a few days, so evaluation may change over the next year. Studied reviews of rotary lasers. This unit compares to a Bosch running about the same price and accuracy (+-1/8 in 100') which I consider the minimum usefulness for my purposes. Fortunately the low end price range for +-1/8" in 100' was affordable for my use. Chose this unit because the Johnson has a 3 year warranty, pretty much the units seem comparable otherwise without actually have both in my physical possession for comparison. Slightly cheaper rotary lasers have less accuracy, which I found not acceptable. Some reviews faulted the bottom end Bosch units as having poor longevity of bearings, but the Bosch for comparison is above the bottom end so this wasn't a big factor, Bosch generally has a good line and dot laser rep. Pros: -- seems accurate and stable over 100', accuracy and repeatability being the most important parameters. -- detector 40-6539 (the less expensive of the two detectors of this Johnson type) feels cheap but works well. About +-1/16 error from the detector in my estimation -- detector is loud enough -- spot size about 1/16", pretty constant over 0-30' (used 30' for calibration as recommended). In other words, the spot size did not significantly bloom larger over increasing distances like cheap line and dot lasers. -- tripod seems sturdy Cons: -- poor directions for calibration-- more on that later. Unit arrived with X-axis perfect, Y-axis with 1/8" span (directions say should be no more than 1/16" span). -- case is... huge. I mean, really huge. The design could be a bit more compact.... measure is 51"x9"x15". Foam around the laser head which is good, rest is blow mold with a lot of empty space. Saga of the calibration. The instructions say to set up a 30' range (indoors with dim enough light to see the laser spot), use laser in rotary mode, mark the level for one axis (mark on a wall for instance, where laser line shows), physically rotate head 180*, mark second spot above/below/same location as first spot. The difference in marks should be less than 1/16". X-axis was perfect. Y-axis was 1/8". Rats, need to calibrate. OK... -- the calibration access hole has a plastic philips head plug. Too tight, too soft, my cautionary note is that you need to be very careful removing this plug or the "philips" head will strip out. Being soft, I could jam in a sharp slot head, or use pliers (or Vampliers) to rotate the plug for removal. Now I have a stripped out head in the plug, but the plug is otherwise functional. -- instructions say to use a flat screwdriver to adjust. Really? After much struggling and gentle prodding, I got a really strong flashlight to illuminate the interior through the translucent plastic case to see what the heck was in there. -- you need a 3mm hex, the hex socket head is about 30mm from the case surface (about 60mm-80mm total length if you want to clear the handle; I took the handle off). The adjustment hex socket is straight in there, not offset or anything. Why do they mislead people saying to use a flathead? How likely is it to have a flathead that goes 30mm into the case and manages to fit a hex head? 3mm hex is just really common and cheap. Hint: Johnson you could include this 10 cent part with the kit! Be more like DeWalt! -- the instructions say, after doing the X-axis measurements and calibration (if necessary), to rotate the head 90* and do the Y-axis measurements, then proceed to say which way to rotate the calibration adjustment screw depending on what was observed for an additional 180* rotation... but... what do they mean "90*"? Mathematical 90*? Clockwise, counterclockwise would be more helpful to most folks. I did not bother to keep track just rotated head 90*, measured, then adjusted the hex screw, and if that was the "wrong way" on repeating the 180* check, then I reversed the direction of rotating the adjustment screw. I think most people will do it this way. -- after some false starts, I found that 1 rotation moves the beam about 1/16" give or take. So, a total of 1 rotation set the Y-axis for me, now about 1/32" delta... but it took 20 or 30 iterations tinkering to get, less for you with these hints. -- the proper method for accuracy is to turn off the unit then lock the floating laser element, then insert hex key and adjust, then remove hex key. -- the adjustment is a threaded fastener in the floating laser element. You must lock the head to make this adjustment without potentially causing other problems. By moving the threaded fastener, the center of gravity changes for the floating laser element and the laser beam will shift. The X-axis remained dead on after fumbling through the learning curve to adjust the Y-axis. I wish I had these calibration instruction hints before I started calibration. The hints would have saved me time going up the learning curve, and would have saved me time writing this. Overall the head feels solid, the tripod seems solid, the story pole seems solid, but the detector is somewhat cheap feeling. Accuracy after a short time of using the unit seems sufficient for my purposes. I feel that if you let the head bounce around in the bed of a pickup truck for a lengthy period the calibration will go out as the Y-axis screw I adjusted had relatively little resistance to rotation, so vibration will likely affect calibration. I do not know if the one screw I adjusted is representative of the entire population though. This is a low middle range rotary laser so there are going to be limitations.